The Ultimate Guide to Flawless Self-Tanning at Home

Hi, I’m Kylie, the owner of SunFX America, and I’m thrilled to share my 5 step guide to achieving a flawless self-tan at home. As someone who has worked in the sunless tanning industry for years, I’ve seen & done it all—from streaky disasters to picture-perfect glows. With the right preparation, application, and aftercare, you too can achieve salon-quality results in the comfort of your own home. Let’s dive in!

Step 1: Prep Like a Pro

I know I bang on about this, but, honestly preparation is key to achieving an even, long-lasting tan.

If you follow these steps to getting your skin ready, I promise you will have given your tan a fighting chance:

  1. Exfoliate Thoroughly: Use a gentle exfoliating scrub or mitt to remove dead skin cells, paying extra attention to elbows, knees, ankles, and any other dry areas. This ensures a smooth canvas for your self-tanner.

  2. Moisturize Dry Areas: Apply a lightweight, oil-free moisturizer to dry areas like hands, feet, knees, and elbows. This prevents these spots from absorbing too much product and turning darker than the rest of your body.

  3. Shave Ahead of Time: If you’re planning to shave, do it at least 24 hours before applying self-tanner. This allows your pores to close, reducing the chance of a patchy finish.

Step 2: Choose the Right Self-Tanner

Selecting the right self-tanner is critical. At SunFX America, we offer a range of sunless tanning products tailored to different needs and skin types. The key is finding the one that fits your lifestyle and desired results.

1. For Quick, Customizable Color:
Our range of  Self-Tanning Mousse are a fan favorite for a reason. There are lightweight, easy to apply, and delivers an even, streak-free tan in just hours. With its buildable formula, you can achieve anything from a subtle glow to a deep bronze, depending on how much product you use and how long you leave it on before rinsing.

2. For a Gradual Glow:
Our Gradual Tan Lotion and Mist are perfect for those who prefer a subtle, sun-kissed look. These products allow you to control the intensity of your tan while deeply hydrating your skin. They’re ideal for beginners or anyone looking to maintain their tan over time.

3. For Effortless, Airbrushed Perfection:
Our Aerosol Self-Tanner is the ultimate tool for achieving a professional-grade finish at home. The ultra-fine mist makes it easy to cover hard-to-reach areas like your back, ensuring a smooth, even application without streaks or blotches. This product dries quickly and develops into a flawless, natural-looking tan that’s never orange.

Step 3: Application Tips for a Perfect Finish

Now that your skin is prepped and you’ve chosen your product, it’s time to apply your self-tanner. Here’s how to get it right:

  1. Work in Sections: Start with your legs and work your way up, applying the product in circular motions. This helps to avoid streaks and ensures even coverage.

  2. Use a Mitt: A tanning mitt is a must-have for smooth application and protecting your hands from staining. For hard-to-reach areas like your back, try a tanning applicator tool.

  3. Be Light on Dry Areas: Use less product on areas like your hands, feet, knees, and elbows. Blend carefully to avoid buildup.

  4. Wipe Off Excess: Use a damp cloth or makeup wipe to gently remove excess product from your palms, nails, and cuticles.

  5. Spray Can: If you have chosen our aerosol can take moment to watch our application video

Step 4: Let It Develop

The Ultimate Guide to Flawless Self-Tanning at HomePatience is a virtue when it comes to self-tanning. Allow the product to fully dry before getting dressed to avoid transfer onto your clothes. Follow the specific development time for your product—this could be anywhere from 1 hour for a rapid tan to 6-8 hours for a standard formula.

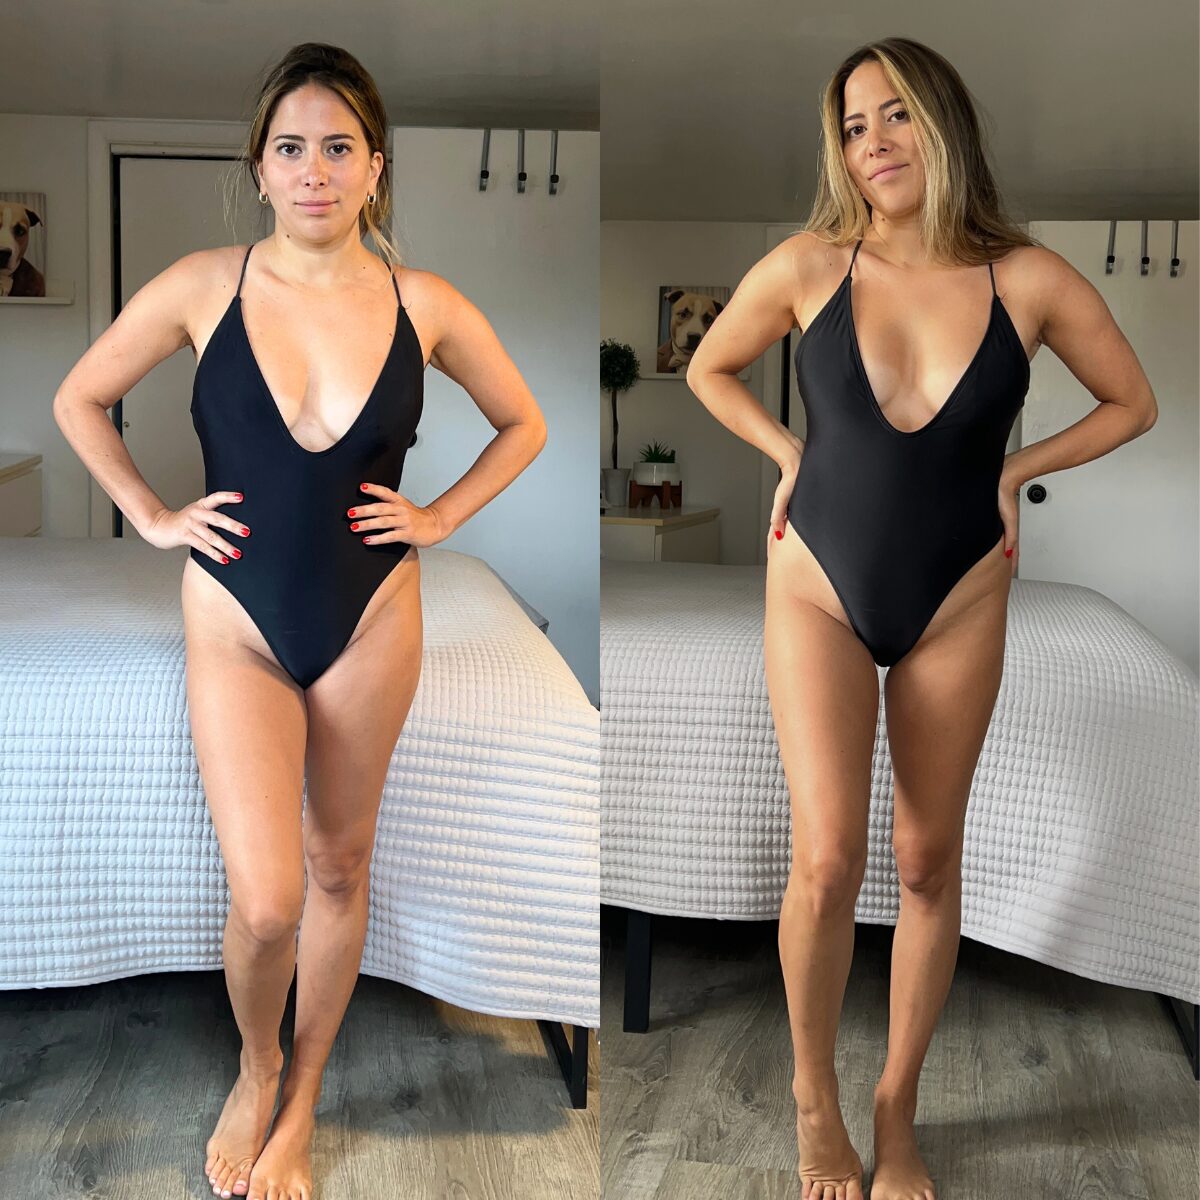
Remember, the longer the self tanning product is left for the more color will develop. On naturally dark skin you do have more wiggle room, however, leaving the product on for longer than recommended is when you may pull brassy undertones. 

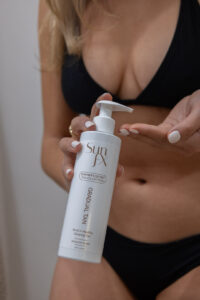
If you do find yourself in a rush and need to tan and dress quickly, I suggest an application of Sunfx gradual tan lotion or mist


Step 5: Maintain Your Glow

applying sunfx lotionTo keep your tan looking fresh and even, follow these aftercare tips:

  1. Moisturize Daily: Hydrated skin holds onto color longer. Use an oil-free moisturizer to avoid breaking down your tan.

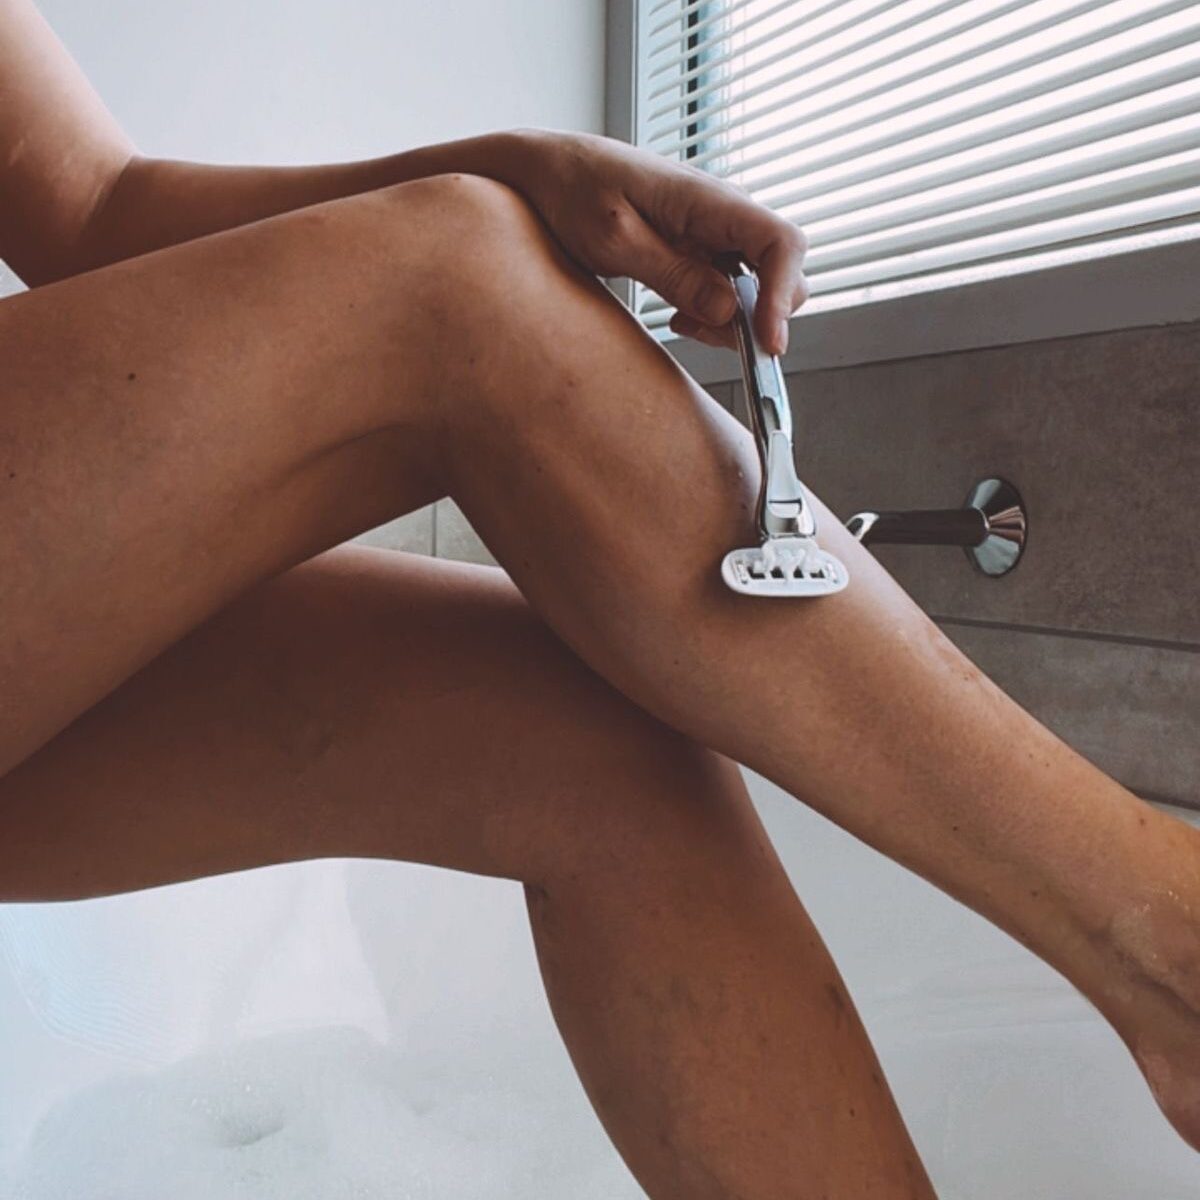
  2. Avoid Exfoliation: Steer clear of harsh scrubs or exfoliating gloves while you’re rocking your tan.

  3. Top Up as Needed: Use a gradual tan lotion or mist to extend the life of your tan and keep your glow consistent.

For a complete rundown on snless care try this article!

Troubleshooting Tips

Even with the best preparation, mistakes can happen. Here’s how to fix common self-tanning mishaps:

  • Streaks or Patches: Gently buff the area with an exfoliating mitt and reapply a small amount of self-tanner.

  • Too Dark: Mix baking soda with water to create a paste and lightly scrub the area to tone down the color.

  • Orange Hands: Lemon juice and a sugar scrub can help remove excess product from your palms.

With these tips and the right SunFX products, you’re all set to achieve a flawless, sun-kissed glow at home. Remember, self-tanning is an art that gets better with practice. If you have any questions or need product recommendations, feel free to reach out—I’m always here to help.

Here’s to glowing with confidence!

– Kylie

The Ultimate Guide to Flawless Self-Tanning at Home
βœ•
Shopping cart
Your cart is empty
Let's start shopping!
Start shopping
0